Showing posts with label Kid's Crafts. Show all posts

Thursday, 12 July 2012

Sand Clay


    Gracie auditioned for a part in the Stirling Festival Theatre at the end of June.  It was an amazing opportunity for her, the little girl once could not make herself speak to anyone other than her immediate family.  You've come a long way baby!  Having said all of that, Stirling is a half hours drive from us.  Rehearsals for her play would be for the entire month of July and the first week of August, therefore monopolizing our summer.  I wished her good luck in her audition, but secretly hoped that she would choke... she did not.  Grace was offered a role, much to her delight, and my grudging pride.
    The play is an amazing opportunity for Grace, but kind of puts a kink into the rest of the family's summer.  We are getting up to an alarm, something that we DO NO DO in the summer.  I load the four kids into the van twice a day to drive and pick Grace up, that represents two hours in the car for three children who gain nothing from this amazing opportunity.  I promised the kids that I would make it up to them, that their sacrifice would not be in vain, we would fill our summer with fun still.  This was a promise made before the running lead me into an exhausted stupor.


    Today I made good on my promise of summer fun.  For some time now I have been mulling in my head an idea to make sandcastles that will last.  I considered mixing white glue with sand, but that seemed expensive and messy.  Then I stumbled across this picture on Pinterest of a sandcastle, so I stole it.  I had very few of the ingredients that the recipe called for, so I improvised.


    I began my sand clay with my basic play dough recipe. 
1 cup flour                                                      1 Tbsp oil
1 cup water                                                     2 tsp cream of tartar
1/2 cup salt        

You combine all of the ingredients into a pot and mix them over medium heat.  Your arm will feel like it is going to fall off.  There will be times in the process of stirring that you will wish for death, or perhaps to stop stirring.  When the mixture starts to pull away from the sides, and looks much like mashed potatoes, take it off the heat.  Let it cool, trust me on this one, don't get ahead of yourself, because that dough is pretty hot.

I quadrupled the recipe, and added three cups of sand to it.  Surprisingly it turned out great!  


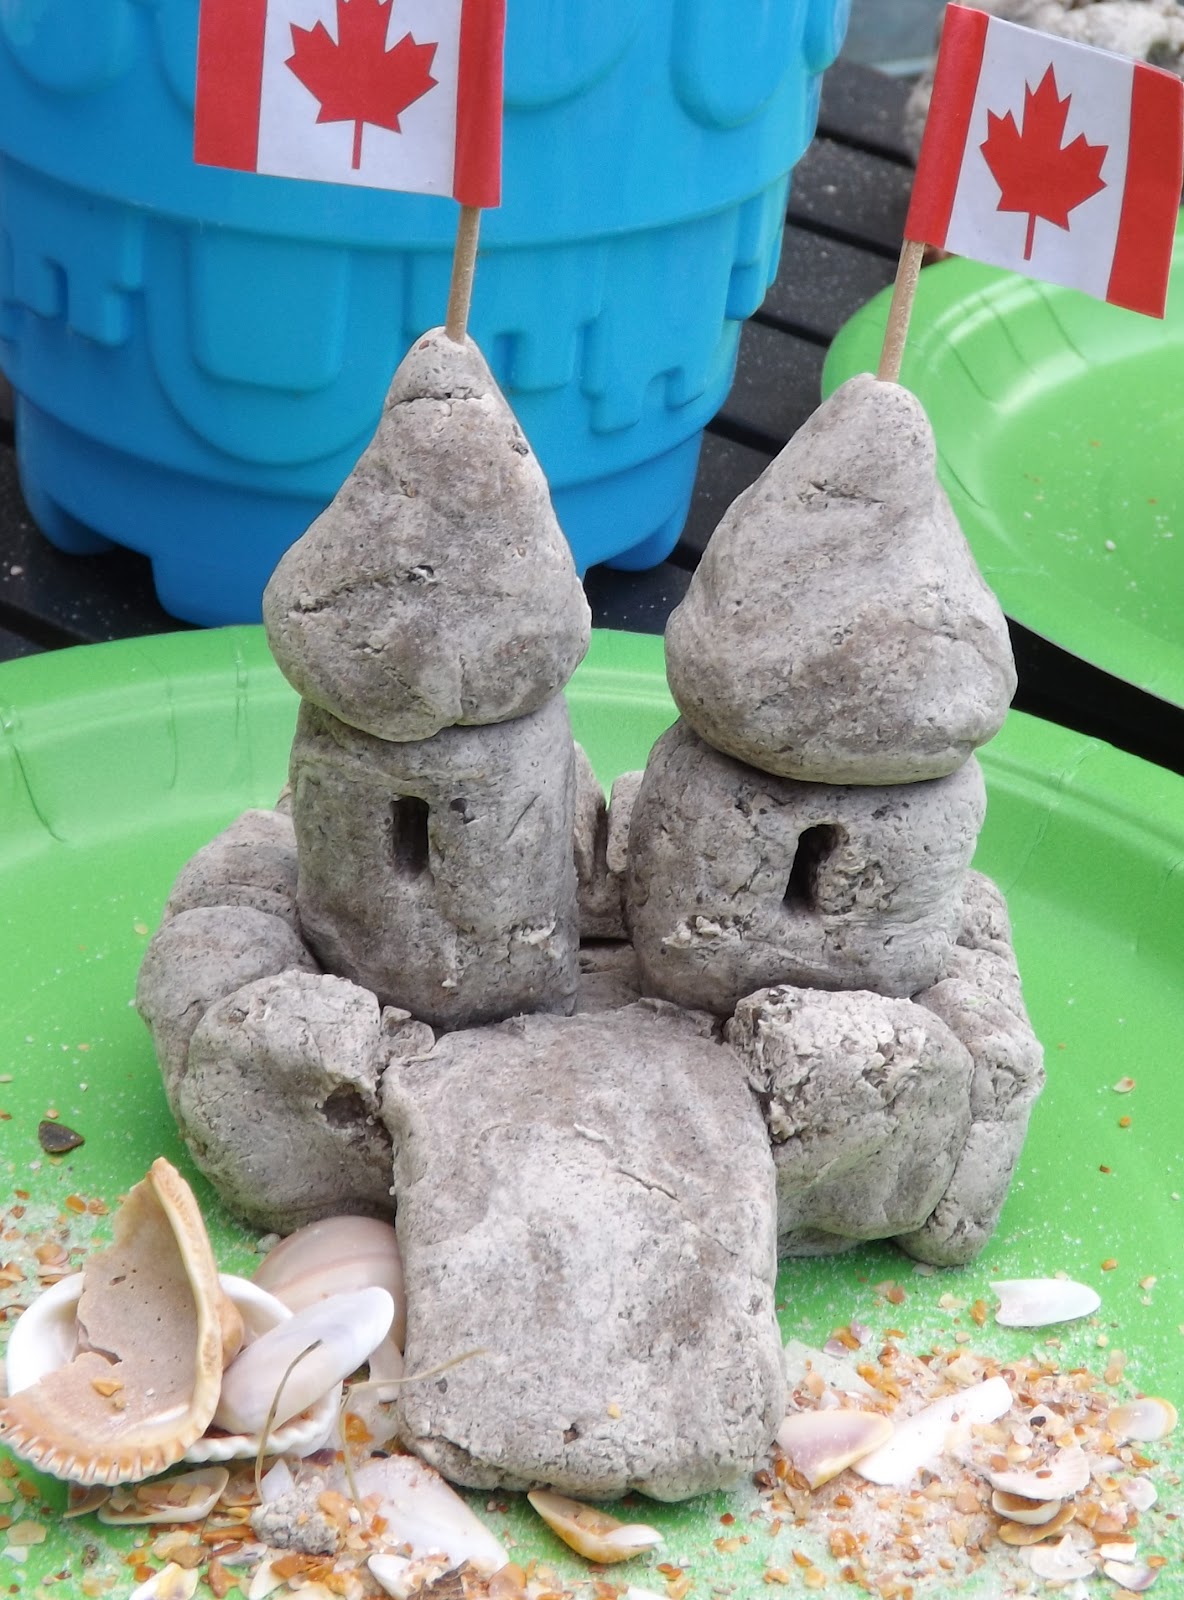
    The kids were really excited when I told them that we were going to make sandcastles that would last.  It kept them happy for an hour.  I gave them each a green paper plate to make their castle on.  I also found deep at the back of my cupboard, little Canadian flags, perfect for castles.  I found some shells that we had brought back from Florida.


    At one point Miss Smartie Pants Riley shouts out, "Hey Mom, I just made a fossil".  I wish that I'd thought of that!  It's too late now, but I should have lied and pretended that it was my idea, and you would say how clever I am.  It's clever all right, it's just not my clever idea.

    My plan is to let everything dry.  When it's dry I will mix glue and water to a half to half ratio and we  will paint it onto the castles and fossils.  I have to admit, the clay looks really attractive.  The kid's really had a fun afternoon, and it only represented perhaps 15 minutes of my time.

Tuesday, 26 June 2012

Teacher's Gifts... Part Two


    A few weeks ago I painted pots for the kid's teachers.  I would not let them come near me with a ten foot pole while I was working on them ( if you want the instructions for them, see my blog from a few weeks ago).  They desperately wanted to help, but I held them at bay.  


    When it came to planting the pots, I let the kids help.  I was prepared for a nightmare, but it all worked out.  I let each kid plant two pots.  I enjoyed watching their level of concentration while they planted.  They really enjoyed it, and really did not make a mess.


    These pots are going to Elly's nursery school teachers, and the big kids gym teachers, art teachers, music teachers, french teacher.  All the teachers that they want to recognise, but that other wise it would be too costly to.  This was a really inexpensive gift, but a thoughtful gift.  It cost me under $20.00 to make 11 pots.  The kids feel proud because they had a hand in the gifts, and I feel happy because I really enjoyed painting the pots and it did not cost a fortune, it's a win win.


Monday, 23 April 2012

Play Dough Illustrators....

Incase you're wondering, this is the Grape's of Wrath, (I know I have problems)


    The kids were home sick today.  Not sick enough to be bed bound, but sick enough that school would have been no fun.  In Mother of the year style I let them watch t.v. most of the day.  I started to feel a twinge of guilt, so I made play dough.  Who am I kidding they were getting on my last nerve so I decided to make busy work for them.  Play dough for my kids keeps them entertained for hours.  Last year at the end of the year we did a really fun craft project, I thought that it was worth repeating.
    The craft started because one of the kids brought home a library book written and illustrated by Barbara Reid.  Barbara Reid illustrates her stories by using clay story blocks.  The kids were fascinated.  We then went onto you-tube and watched this great video of Barbara Reid showing how she does her clay figures.


    After watching the clip the kids sketched out pictures of their teachers.  We decided that it would be nice to do a dough sculpture of their teachers which I would take a picture of and we would put the picture on a blank card for their end of the year thank- you card.  While the kids did their sketches I made play dough. Here is my tried and true play dough recipe.

1 cup flour                                                           1 Tbsp oil
1 cup water                                                          2 tsp cream of tarter
1/2  cup salt                                                          food colouring

   Mix all of the ingredients together in a large pot (I use my dutch oven).  Cook over medium high heat.  You will know it's done when it looks like mashed potatoes, or when most of the moisture is gone.  Let it cool.  When it has cooled for 10 minutes or so, it's the fun part.  Kneed it.  I really enjoy kneeding it when it's almost too hot to touch, but then I have problems.  


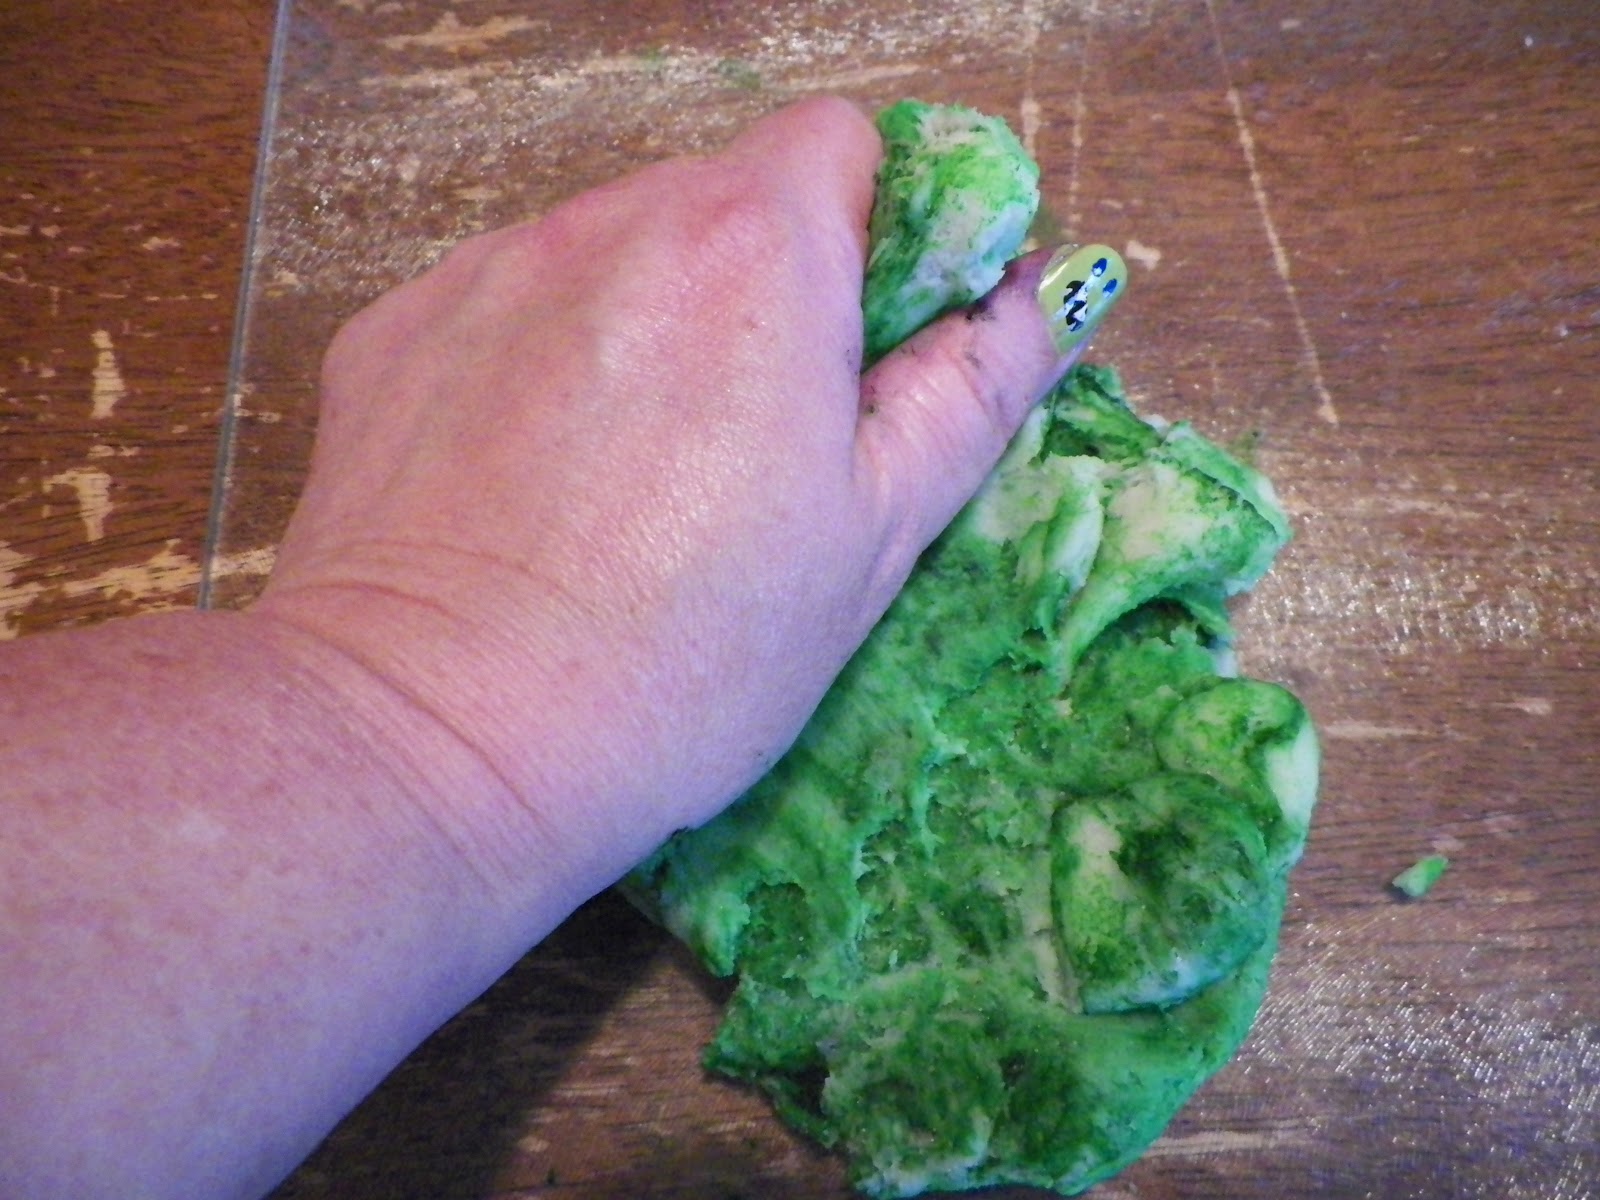
   The next step is to colour, if you want to.  I will warn you, put down something to protect your kitchen table, and your hands will become rainbow coloured depending on how many batches that you make.  I use gel food colouring to colour mine.  I make a well in the middle of the dough, then kneed it in.


If you are wondering about my thumb nail, yes it is a monster.


    To make enough for everyone to do their teacher I made 6 batches.  It is a lot of dough.
The kids really had a fun time doing it.  I myself really enjoyed making the pictures with dough.


This is wonderful picture I created of my husband.
Riley did Mrs. Bateman
Grace's Ms. Davie

Rowan's Mr. Coffey


Monday, 12 March 2012

Homemade Liquid Sidewalk Chalk


 Today is the first day of March Break, which means I will hear at least one million "I'm BORED"'s and  at least one million "____________(insert child's name here)'s bugging me".  This means that I have to get creative to save my own sanity.  Needless to say, I will be scouring my new best friend "Pinterst" for ideas.
    I only have to come up with three days of activities (we're away Wednesday).  We will be inviting friends over tomorrow,  Wednesday we're away, that leaves Thursday, and Friday, and the rest of today.
I'll let you know what I come up with to fill their days.
    Today the weather is glorious, so I sent them outside.  As I sit here and write this I am smiling listening to them play ( I have the front door open).  I know it will not last.  I know that someone will irritate someone, and there will be angry words, but for now I will enjoy their happy noise.  They are complimenting each other on their art.  They are co-operating, does life get much better than this?
    I found a recipe for liquid chalk on Pinterest.  The website is thirtyhandmadedays.com.  The recipe is very straightforward.

1 tsp washable tempura paint
1 cup hot water
1/2 cup corns starch
1 squirt dishwashing liquid
1 squirt bottle.

Sounds easy.  I don't have any tempura paint, but I have food colouring.  I don't have any squirt bottles, but I could repurpose some.  Off I went to search the house for spray bottles.  Bottles found, and thoroughly washed.  I mixed together the hot water into the cornstarch and added the dish soap, then whisked it.  It made a quicksand substance that glumped the whisk to the bottom of the bowl.  I was patient, and mixed it.  I then poured the mixture into bottles with the food colouring gel in it.  Shake shake shake, ready to go.  Found the kid's spring jackets, and rubber boots, and off we went to experiment.  They had a blast, although Riley was a little frustrated.  Turns out her de-tangling spray bottle was not a great match for the liquid.  In it's place, a bowl and a paint brush.  Then the other two wanted bowls and brushes (Grace is away today).  They loved it.  Is it the greatest product that I have ever encountered, no.  Did it give my kids some creative fun, yes.  The mixture did not turn out "awesome", but I did my usual.  The recipe called for tempura paint, I had food colouring.  It called for squirt bottles, I found some old bottles around the house.  All in all it is worth a try.


    Now I just need to find something else for this afternoon, and three more days, hmmmmmmmm...

Wednesday, 29 February 2012

GLOOP... the kids have a new love!


    I have become addicted to Pinterest (don't judge me, I know you are too, and if you're not what's wrong with you?)  I am always looking for things that I can do with the kids.  I saw "gloop" a few times and was intrigued.  Two liquids form a solid, this I had to try.  I adjusted the recipe, because as usual I did not have the correct quantities of things.

    Here is my recipe... you will need two bowls.  In the first bowl I mixed one 4oz bottle of white Elmers Glue, then filled the bottle with hot water ( so in other words you will need 4 oz of water) and mixed the two together.  I then added green food gel.  Take it from me, use less than you think you should.  We all look a lot like the Incredible Hulk after playing with the Goop, because as usual I thought that more is better.
   In the second bowl I mixed 3/4 of a teaspoon of Borax with 1/2 cup of hot water.  I mixed them until the Borax was completely dissolved.
    Now for the cool part (yes I am essentially a little kid trapped in a woman's body).  I mixed the two bowls into one.  It became solid almost immediately.  The kids thought this was as cool as I did, I swear.  I then mixed it by hand to make sure it was completely blended.  It was then stolen from me by Rowan and Riley (Grace was too grossed out to play with it).  They played with it for hours.  Inevitably it became the stuff of many booger jokes.  When Elly came home from her visit at Nana and Popa's she too was hooked.


The recipe that I converted suggested refrigerating it, but hey I know better, we just put it in the cupboard (I'll tell you tomorrow if I am a complete idiot).  It made up about 2 cups of goop.

Tuesday, 21 February 2012

One on One Easter Craft

Our afternoon one- on -one craft...
    This morning Elly and I went to the library and enjoyed story time, which also included a craft.  She LOVED it.  I never really think to do crafts with her.  I'm not sure why either, because I used to do crafts with all of the older kids.  I think it's because with Riley and Rowan there were two of them, and now that there is just one it hardly seems worth the effort (how's that for some great parenting).  After I saw how much she enjoyed the craft at the library, I decided to get off my lazy butt and do something fun with her.
   Today we decorated paper Easter eggs using the marble technique.  Being the together housekeeper that I am, I had no idea where any of the millions of marbles that we own might be.  Instead of marbles we used big wooden beads and some small beads (because that's what I could find).

I used three colours, and made sure that the beads were really covered in paint.


I cut construction paper into the shape of an egg.  I then taped it into a dollar store storage bin.


I was smart enough to keep a wet rag right beside Elly, but not smart enough to cover her clothes.  Luckily that t-shirt is getting too small.


She sprinkled glitter onto the wet paint.  I put some of the glitter into a salt shaker in the hopes that it would minimize the mess (it kind of worked?)


Elly loved shaking the container to make the beads roll.  She got a bit carried away a few times and the beads flew.  I had some paint clean up afterwards, but it was worth it, she loved it.
I guess we'll do more crafts.


Sunday, 19 February 2012

Sock Bunnies

Sock Bunnies...

    Today we made sock bunnies.  The kids loved it.  It actually was pretty fun.
 So here's how we did it.

Take a sock.  I bought these in a three pack from Dollarama for $2.00
I then turned them heel up and cut down the middle of the top.


I turned the sock inside out and sewed where I had just cut, to make two ears.


 The tough side is turning it right side in.  I slowly and carefully used the one leg to pull it through.
 Ready to stuff.
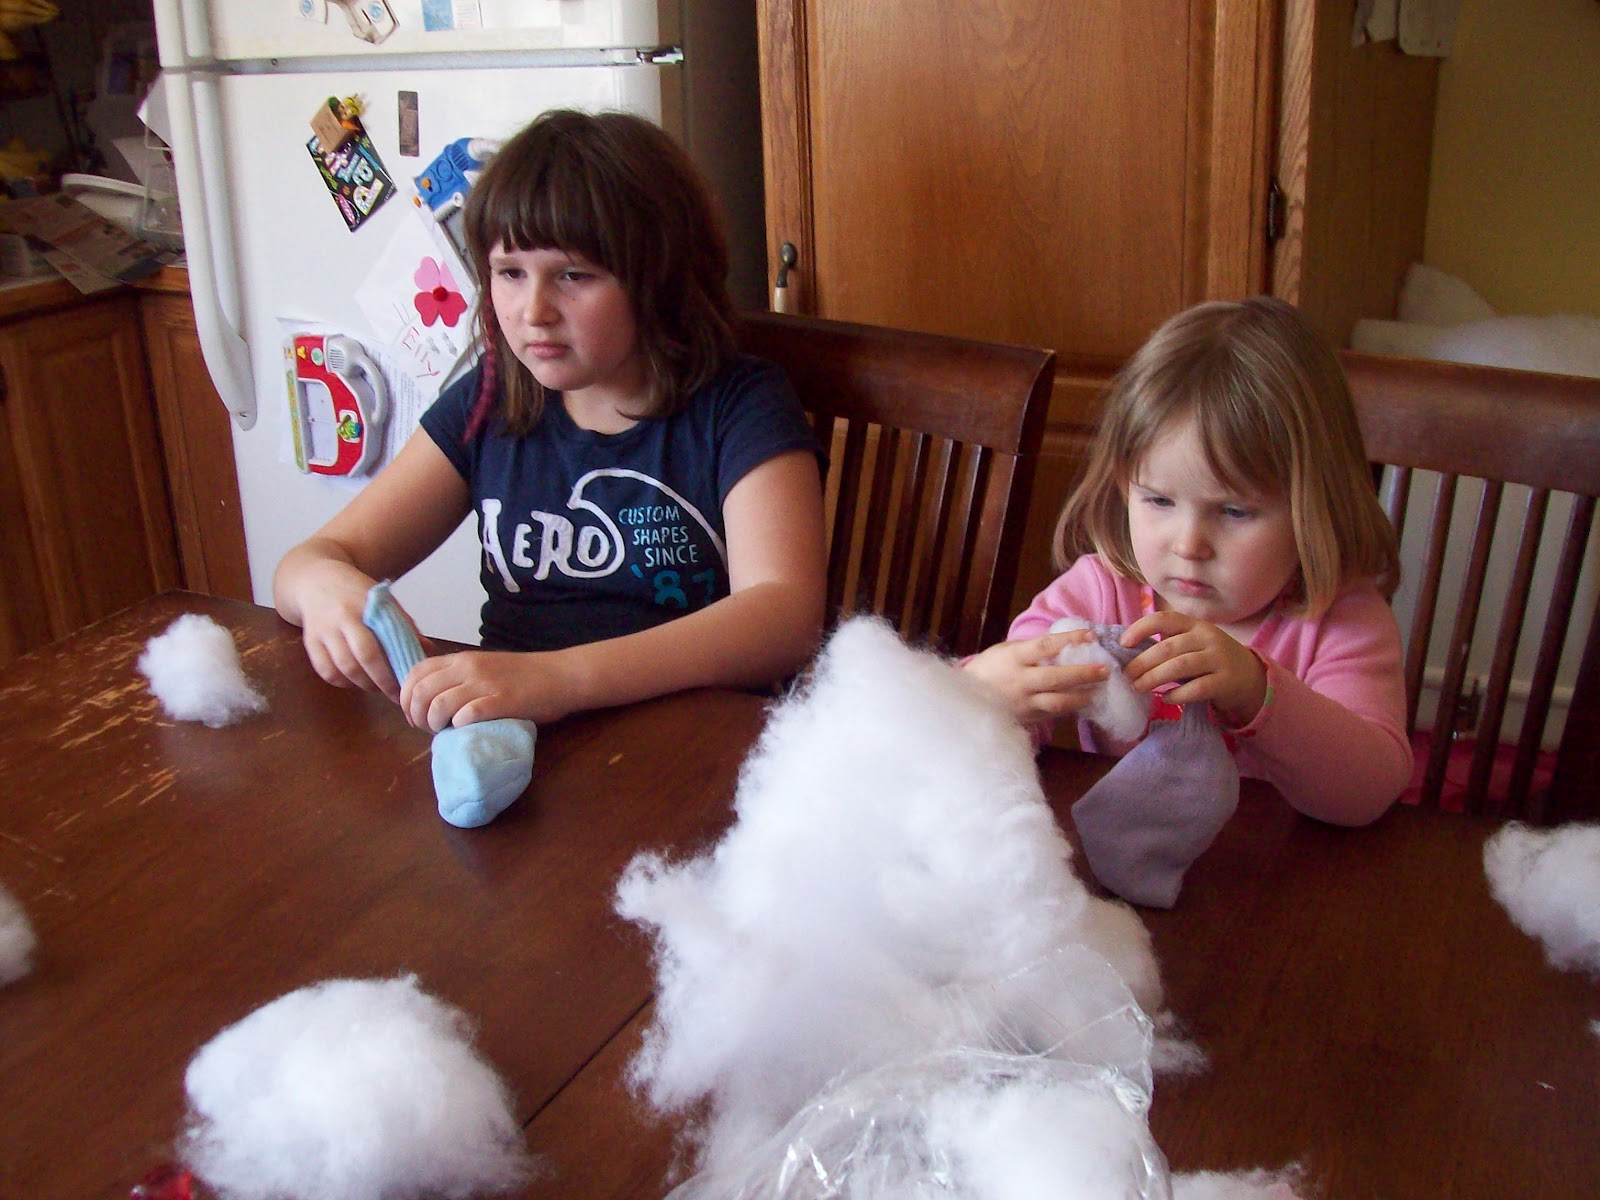
 Let the stuffing begin...


 The final product from the back.  I used the hot glue gun to glue googly eyes and a pom pom nose on.  We used a sharpie to for the mouth.  We used ribbon to tie for the head, and at the bottom of the ears.

Monday, 13 February 2012

Easy Peasy Home Made T-Shirts

Easy Peasy Homemade T-Shirts...
   Every year I buy the kids Valentines Day shirts from the store.  It adds up.  This year I was fretting because as I have a few million times mentioned we are going to Disney World/ Florida this March, and money is SUPER tight.  I decided to do the Canada Day stencil idea that I do for Canada Day every year.
 It is so super easy and honestly looks great.


                                   I used a floor tile, which you can buy at the dollar store.  
                                   I then traced the shape of a heart and cut it with scissors.


       Next I hot glued an old used ribbon bobbin onto the the bottom of the floor tile (paper side).


                         I then mixed together fabric medium and acrylic craft paint in the ratio
                                                that the fabric medium bottle suggested.

           I put a piece of cereal box in the T-shirt to prevent the paint bleeding to the back side.


                                        God help me, I let the kids each do their own shirt!
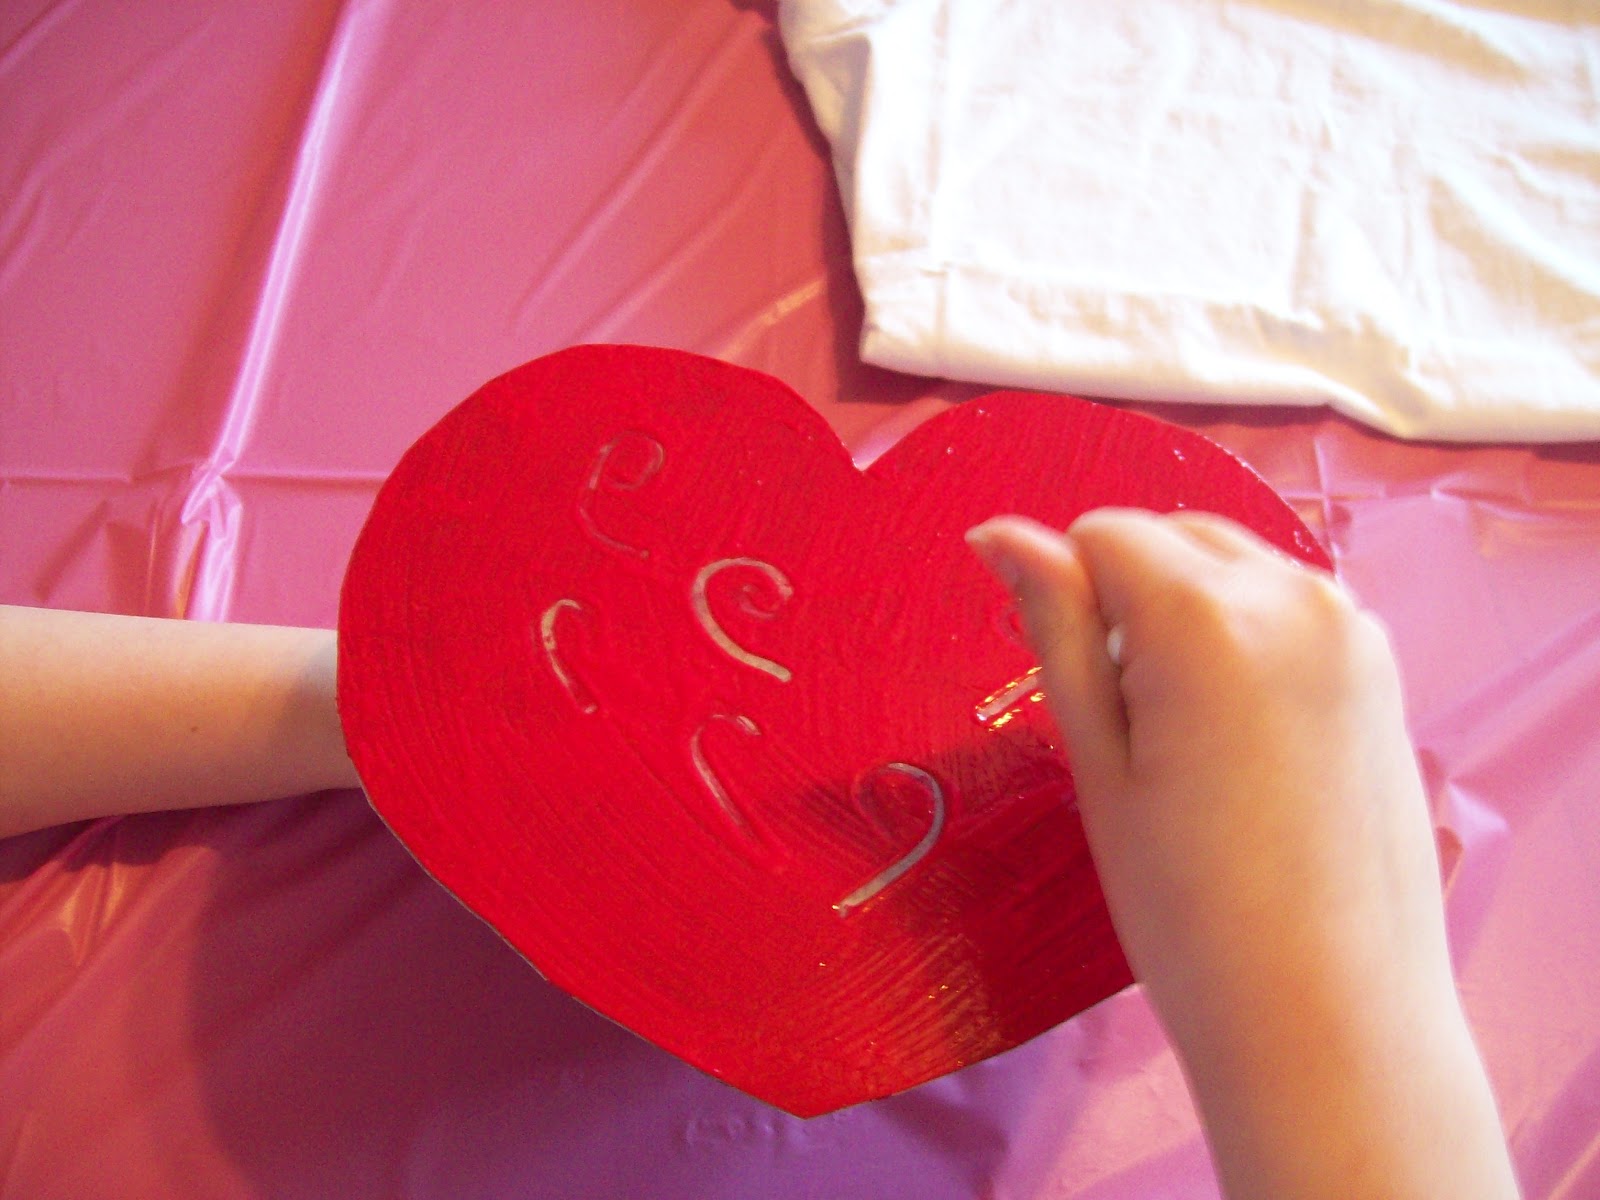
                        We painted the paint onto the heart, fairly thickly with a sponge brush.


Grace made patterns on hers with a Q-tip.


                               Then we centered the heart onto the T-shirt and pressed it down.


      Voila, Valentines T-shirts that were super fun to make, look great and cost sooooo much less!